
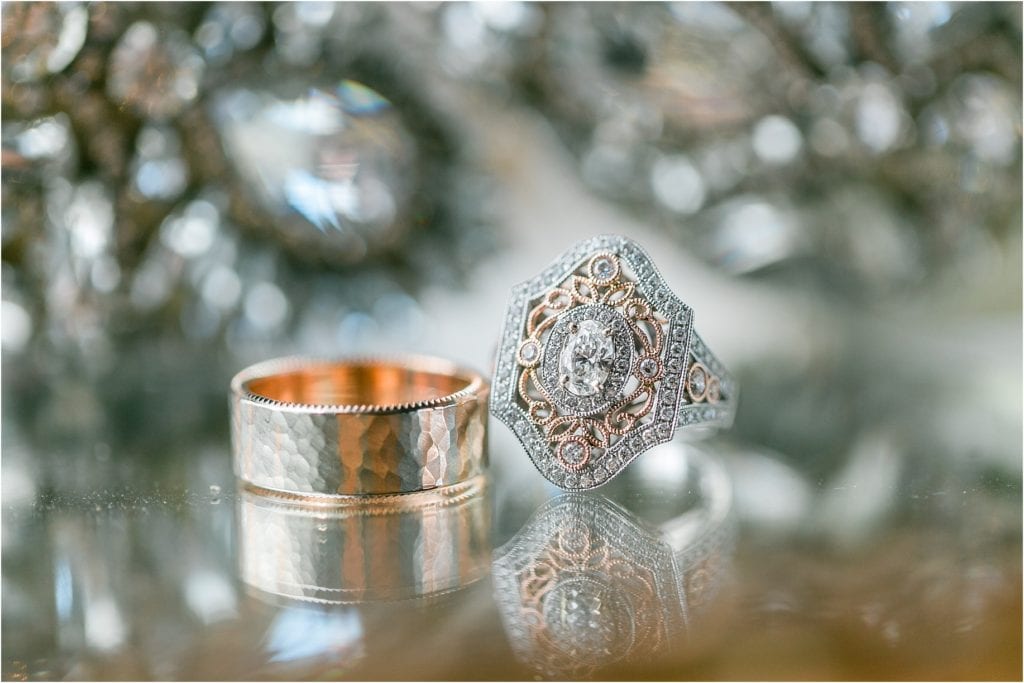
How to Take Ring Shots
It is absolutely no secret around here, that I LOVE photographing details but especially rings! I love proposal stories and ask them during my initial consult with a client, because they tell so much about a couple. When we meet, one of the first things I ask is to see her ring. This is fun because one of them usually jumps into the story of why that ring or some little anecdote. I love watching her smile at that thought, him beam with pride and the glances they share right after. IN the beginning of my business I didn’t toss my thought into ring photography. Not because I didn’t value what those bands meant, but because I was so busy focusing on the couple I couldn’t study that. The end of 2015 I made it a conscious choice to really, really practice macro photography and step outside of my comfort zone. I committed to a routine when photographing rings, totally opposite of couples, and it has made all the difference in making me grab quality shots in a tiny amount of time! So, I’m sharing my tips for ring shots with you below!
Shoot with a macro lens
Look I know that isn’t the information you wanted to hear at first and I don’t blame you, but I love my Canon 100mm 2.8L Macro IS. These things are expensive and when you’re (thinking) you will only use them for a few minutes a day they become hard to justify spending on. This lens is made to get super up close and detailed, it pulls out all those nearly-invisible-to-the-naked-eye parts that were REALLY really thought about! It is one of the 3 lenses I always have in my bag for engagements and weddings. Bonus it can double as a great portrait lens for a second shooter or assistant who is still learning and building their gear! I know they make macro filters to make lenses into a macro lens quick, but I’ve never used those and can’t speak to their performance!
Fun fact, my best friend and I SPLIT the cost of the macro and shared it for 2+ years!!! Now this definitely won’t work for everyone but since we were shooting all our weddings together anyways (fate had us rarely double up!) we just had to stay organized with engagements and communicate ahead of time. When we did have the same day, we shared the cost of the rental.
Use Manual Mode
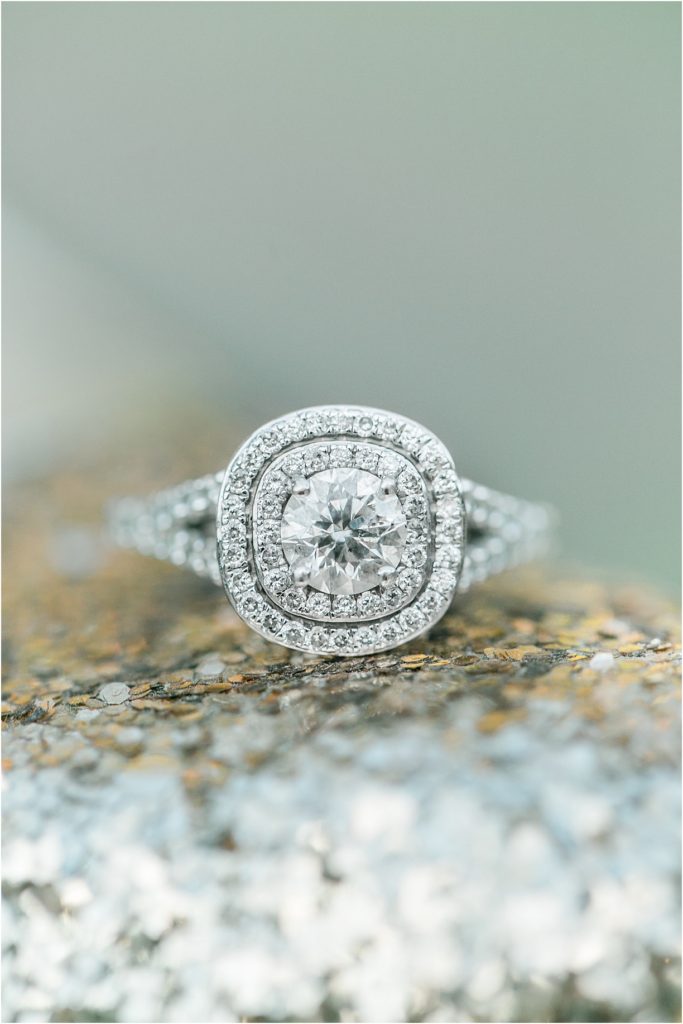
So if you’re like me and you’re shooting eye happens to have terrible eyesight this takes A LOT of practice! I shoot my ring shots in manual and auto actually just in case I completely miss with my “bad” eye. Since light typically reflects off the diamond, it makes it difficult for the camera autofocus to know WHERE to focus on. Choose the prong closest to the camera based on how you’ve positioned the ring!
Get Closer
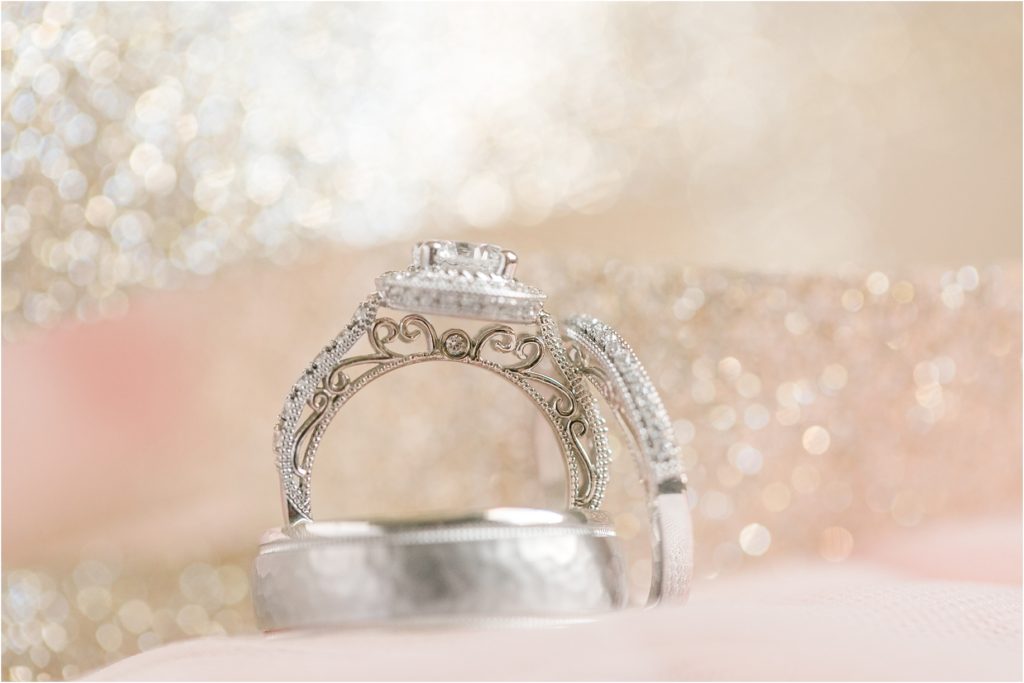
If there is one thing I see people a mistake of time and time again, it’s they don’t get close enough to the ring. Here’s the thing, it’s my job as a photographer to make this ring look larger than life and fill the frame with it! I don’t really want to see the ring and then 70% of the frame be filled with its environment. I want my rings to fill 90% of the frame! They look huge, all the details are visible and it really adds to the wow factor. So if you think you’re close, get closer! 😉

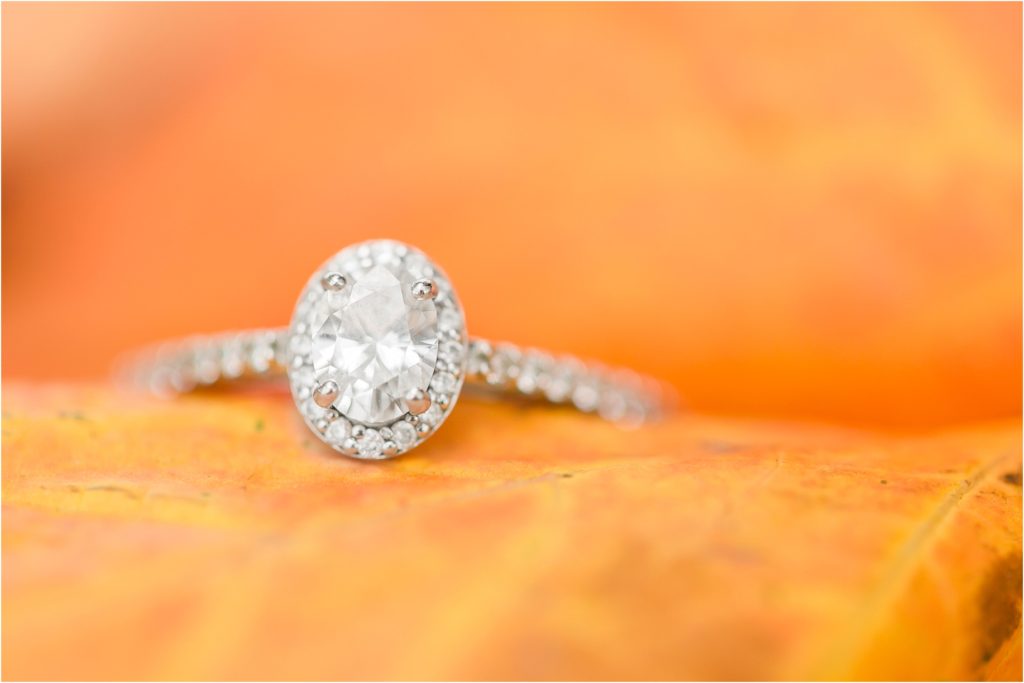
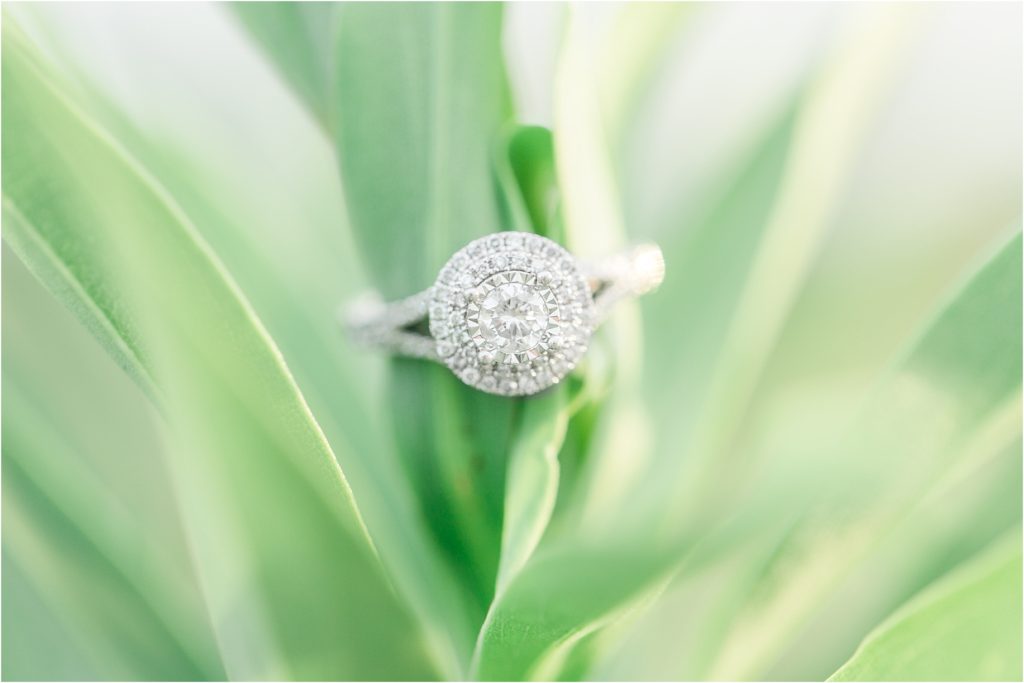
Create a post production brush
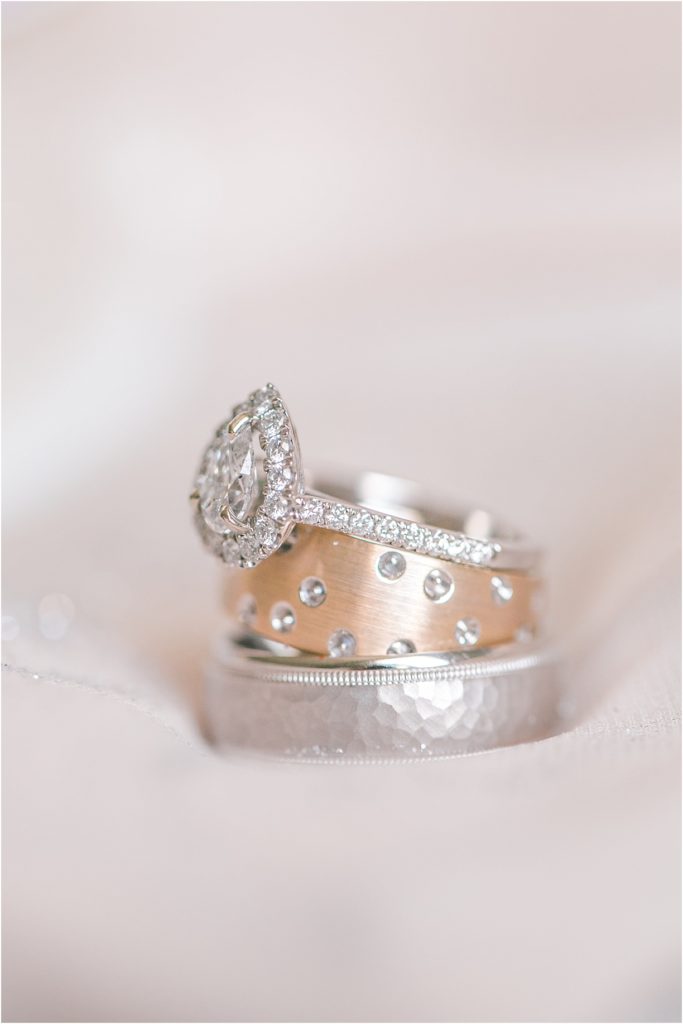
I wish I could say this was my idea, but honestly I don’t remember who shared it first!! Rings pick up ALL the colors around them, which means when you’re shooting with pretty flowers and trees the ring looks more like a gemstone than a diamond! In Lightroom, I’ve created a custom brush called “RING” and it has saturation down to -100 with the clarity up at +20. Now you have to be cautious because if your band is colored this will take all the tone out too. Run your brush over JUST your diamond and boom! Jewelry ad.


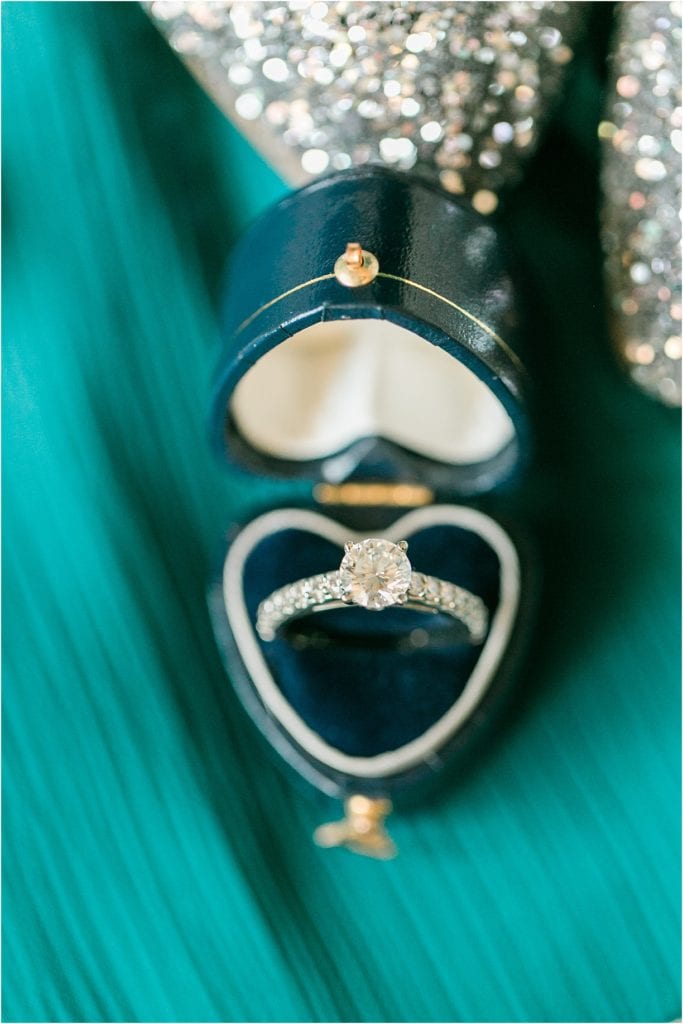
Last tip: make sure to shoot the ring in various ways (portrait, landscape, centered, to the left, to the right) so you can easily pair and blog!
Want to learn more about photography? Check out the posts below and join me for my first Coffee Chat Q&A on March 12!
the list
don't worry I won't spam you
Tips for wedding planning, engagement pictures, portrait sessions and more!
WEDDINGS, LIFE & FUN!
FOLLOW me
find your way around
home
MEET me
WEDDINGS
PORTRAITS
JOURNAL
CONNECT
let's connect
Visit the form or contact me directly
Let's CONNECT
First off, I’d love to just thank you for sharing the blog about some secrets you have to taking pictures. I have always loved photography, and I just got a camera from my husband for Christmas. I love taking pictures of people and I am getting people inquiring about sessions, but I know I have a lot of learning to do. I have had multiple photographers tell me to let them know if I had any questions, but the only question I find myself asking is “how can I get better?”. Your blog answered so many questions I didn’t even know I had. You are awesome and I hope one day that I am at least half of the photography that you are! Thank you so much for sharing and being so kind to beginner photographers, like myself.
Oh Abigail that makes me so happy!!! You’re welcome!!! 🙂