
Take Better Pictures-Part II
If you’re new around here, take a second and read THIS post before jumping into this one….go ahead. I’ll wait, I love any excuse for a second cup of coffee….
Okay good now that you’re caught up let’s keep learning! I am a natural light photographer, that means all of my sessions are done using the light available from the sun. I don’t have a studio and only use flashes for weddings (when obviously the show must go on!) All the advice and tips in this blog are my personal preference. They’re in no means a guaranteed right or guaranteed wrong way to do it. There are also circumstances when it is completely beyond your control. Today is all about sunshine days, no clouds and just bright sun!
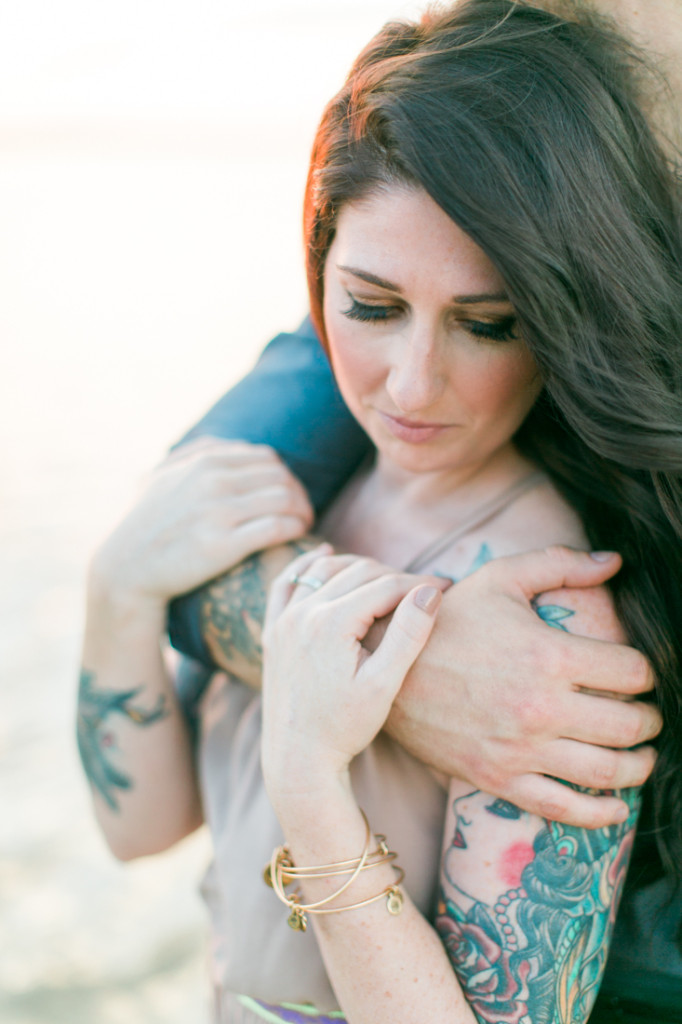
If you don’t like math, this post may be a hard one for you to swallow. I have said before to friends, I will guarantee that if you could pop into my head while I’m shooting, a good 80% of the time I am calculating angles and doing math. I do not photograph with the sun directly behind my subject UNLESS something else is diffusing the sun (tree, tall grass, flags, gates, etc) Typically shooting directly into the sun gives an image too much haze and makes it hard for subject to be nice and crisp. Instead, when I get to a location I just look for the sun. If it is still above the horizon line, I prefer my sun about 60*(or it’s counterpart 120*) to the side of my subject. This gives me a chance to expose my subject well and also have the background fade off. The subject’s face is still lit well, but they aren’t squinting because the sun is just out of their peripheral vision. It also gives a nice glow to the hair and can emphasize a subject from their background, great if the background is close to them! You can see in the image below the sun hitting Heather’s face. To me it isn’t a distraction because the light on her face/ torso and Jared’s arm is all even. The background completely fades away because of how well lit they are!
I want even light across my subject’s face, the body, then background/foreground. That’s the order my mind is working in at shoots. Many times standing under trees or buildings can create speckling on the face where the light is going in and out. If you see this, turn your subject until that’s gone and the light is all one strength across their face. Now look at their chest, torso and legs. See any more hotspots? Can you move them in a way that those can dissappear too? Of course, this isn’t always possible. Maybe your subject really wants to be photographed there or the background is just too perfect. Keep in mind though, a distracting foreground will completely take away from a good background!
Okay now get outside and PRACTICE! Have you subject stand in one spot, get your settings and take a photo. Now turn them 45*. Don’t change your settings and take another. Repeat this until they’re done a full circle. Which image do you prefer? Where was the sun at that time? What was diffusing/filtering the sun?
Good luck!
You may also like
the list
don't worry I won't spam you
Tips for wedding planning, engagement pictures, portrait sessions and more!
WEDDINGS, LIFE & FUN!
FOLLOW me
find your way around
home
MEET me
PORTRAITS
CONNECT
let's connect
Visit the form or contact me directly
Let's CONNECT